Creating a Contact Form with Next.js and Formspree
Next.js
Jul 26, 2021

“Focusing on the front-end is the most customer-obsessive way to build your products.” — Guillermo Rauch, Vercel CEO
Why use this solution?
Sometimes you are under pressure building a client's website or a project and you find in the situation where saving time is essential. I was trying different solutions for small and simple contact form integration and I have to say that Formspree is the quickest and easiest way to get your contact forms up and running, just take a couple of minutes to get everything up and running. Their simplicity in their React API really makes a good developer experience when is combined with Next.js. Let's see this in action.
Getting Started
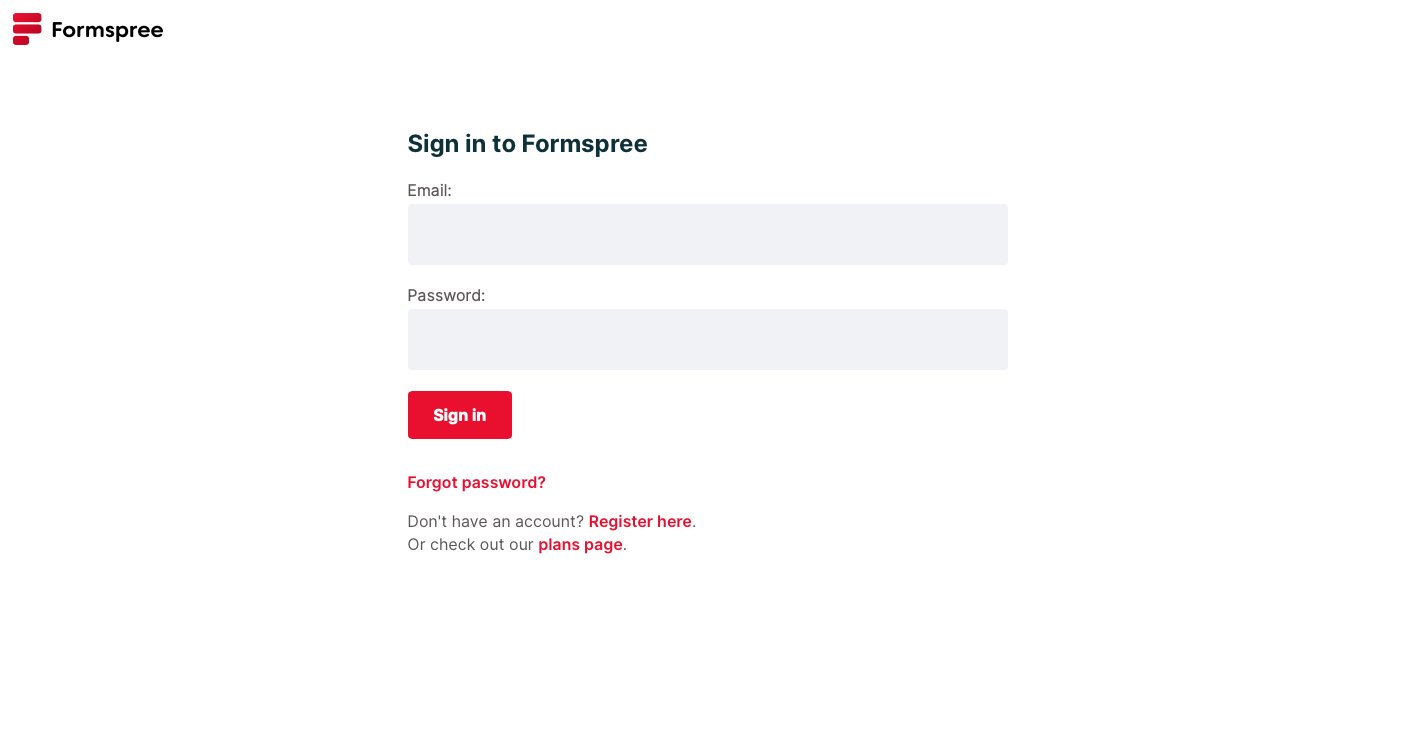
Before to show the code sample we will need to start a Next.js project and create a Formspree account if you don’t have one yet. first visit formspree website, sign in and fill in your data:
Then in the next section is important to create a project and not a form, because we'll be using Formspree CLI in order to configure our project
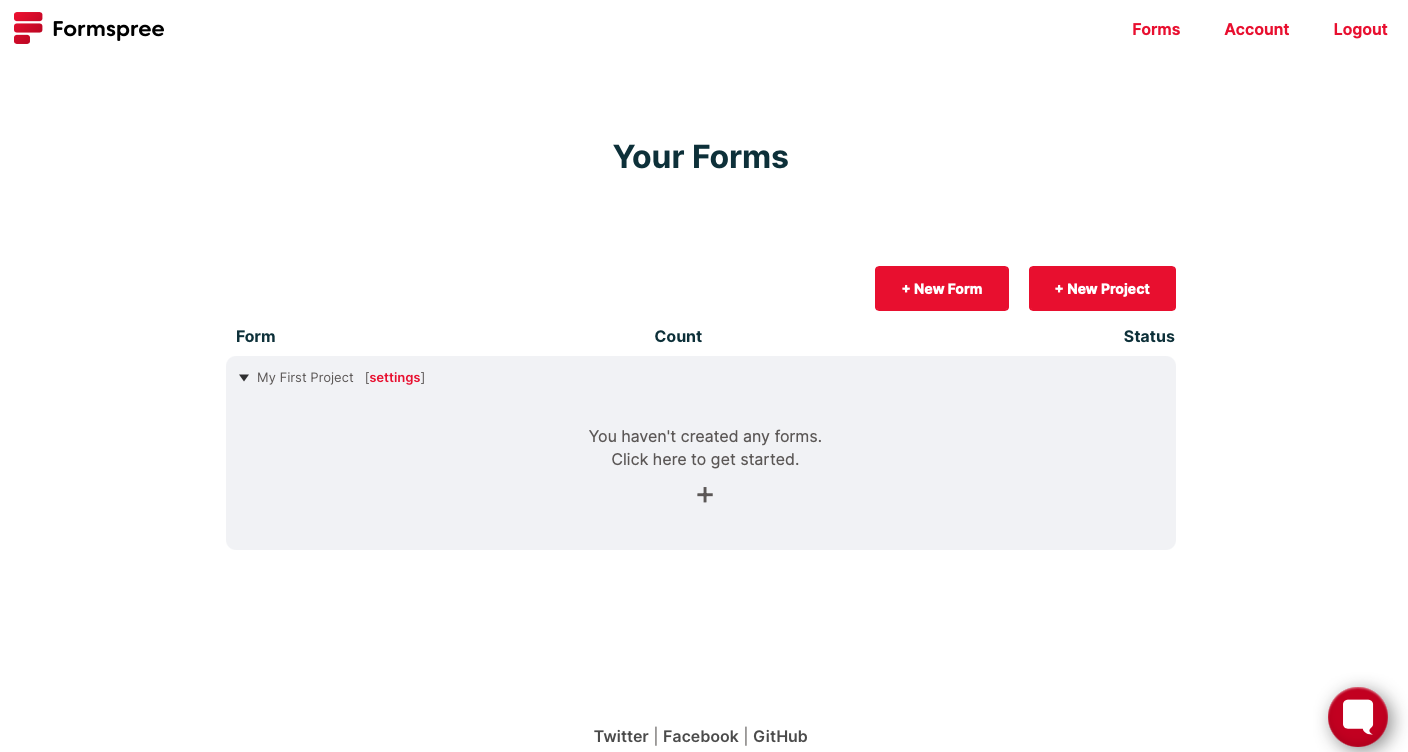
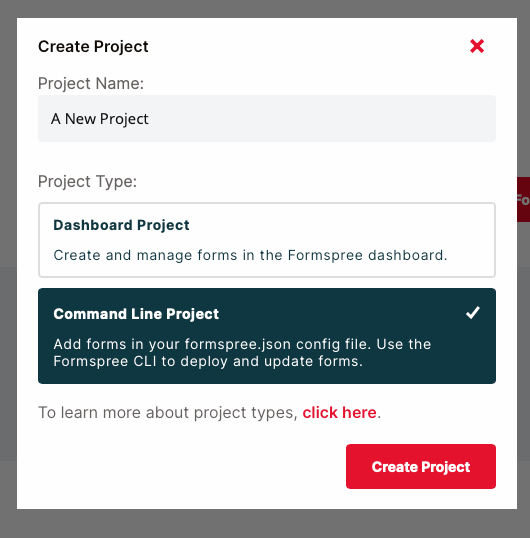
After clicking New Project, assign any name you like and then select the option Commnad Line Project
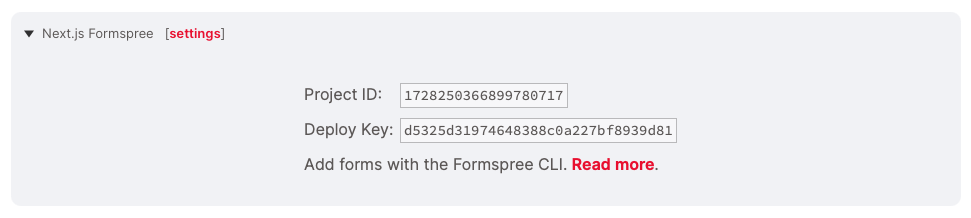
At the end the platform will provide us 2 diferent access keys, the first one is the Project ID which will be used to access from our project to Formspree API, and the Deploy Key that we'll gonna use later:
Up and Running with Next.js
For this small example I'm goint to use the Next.js + TailwindCSS starter in order to create a custom design for the contact form, you can dive deep into installing Tailwind and Next.js in the official docs site.

Open your project's directory and install the @formspree/react and @formspree/cli dependencies, with this we can setup our project correctly and it’s everything we'll need.


As I mentioned before, for this example I'm going to use a custom layout for the contact form, feel free to use it and customize it if you need. the full project is located on this GitHub repository
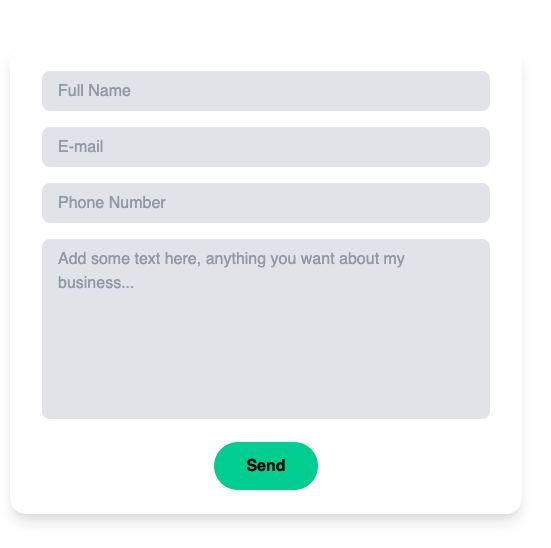
Now it's time to code
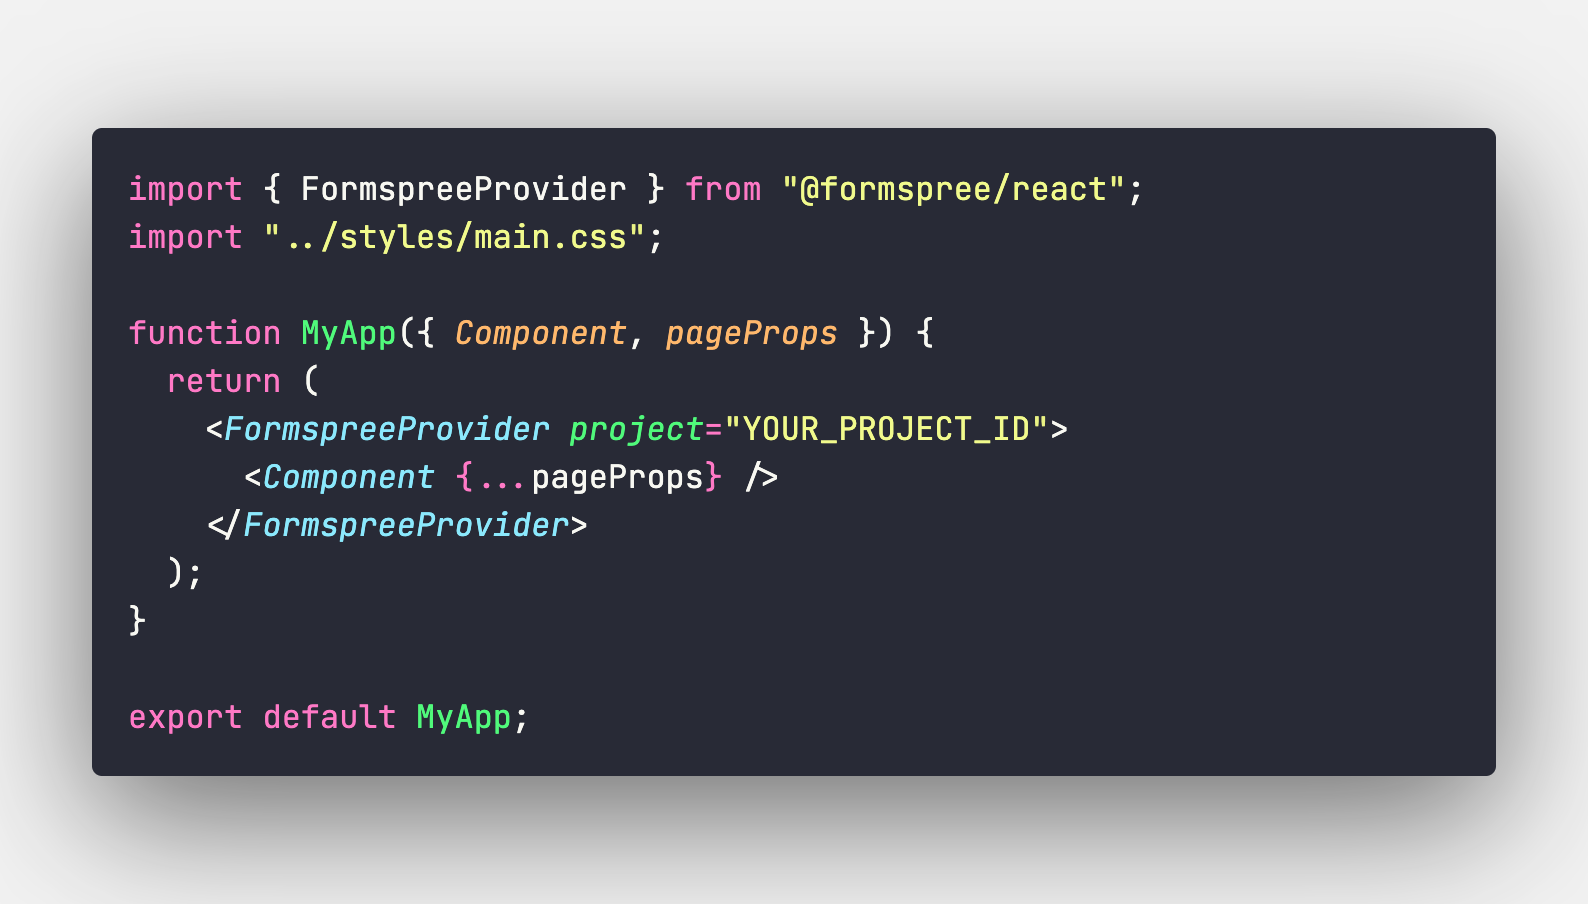
First we need to modify the _app.js file using the Formspree provider with the right project ID
      import { FormspreeProvider } from "@formspree/react";
      import "../styles/main.css";
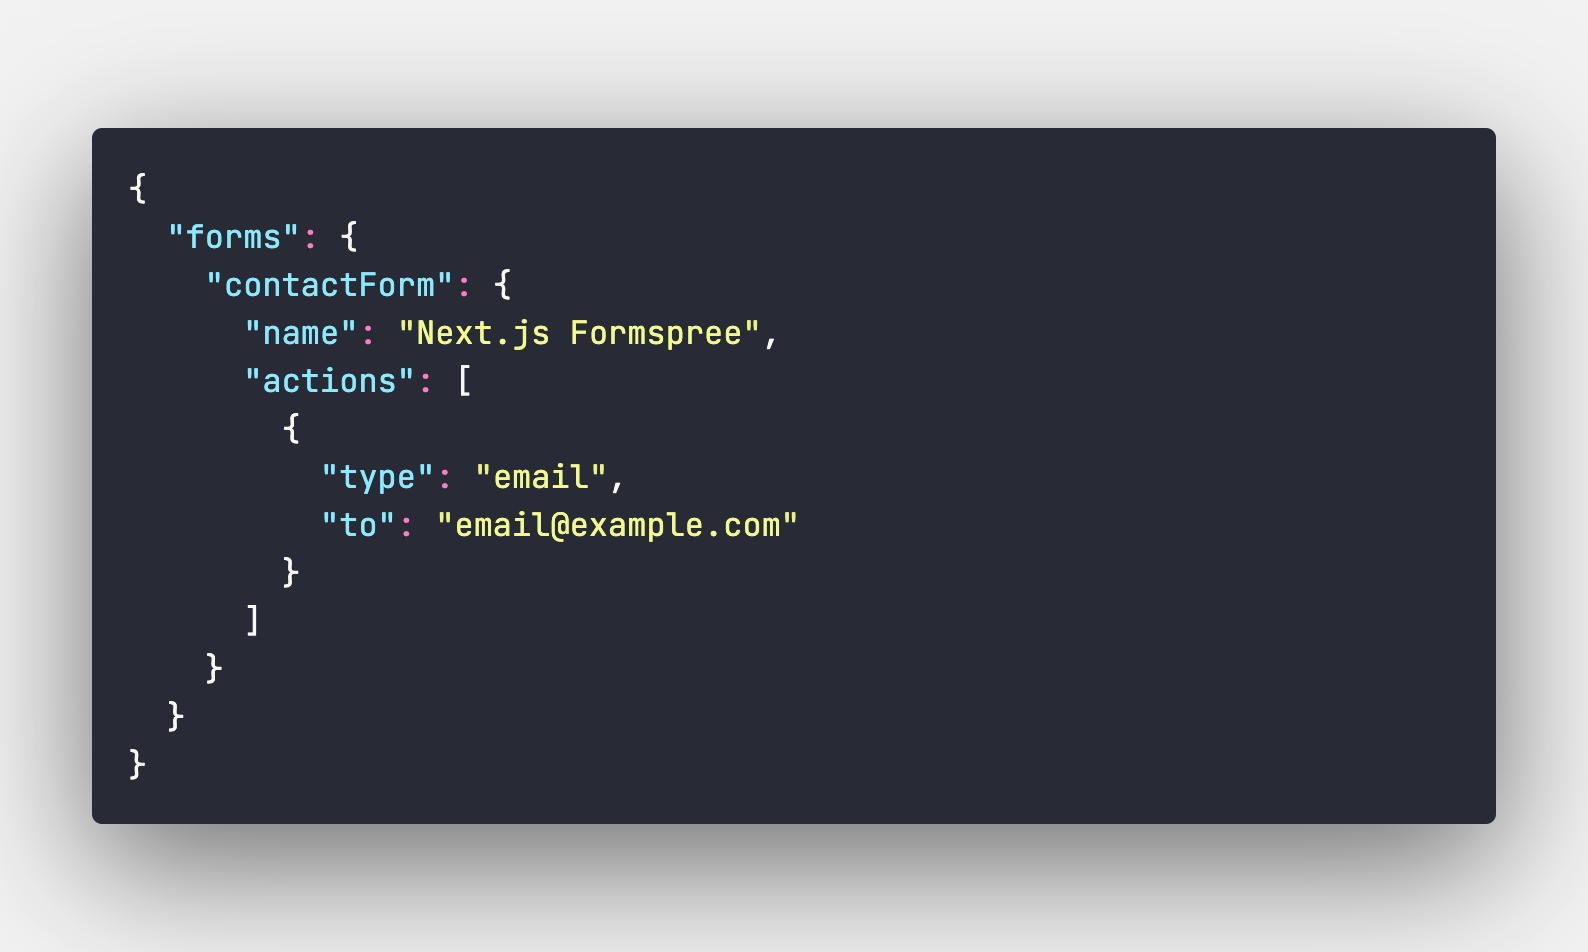
Before to use the Formspree hook, it's fundamental to create a formspree.json file which is the configuration file and contains information about our form, the email you want to use to receive the form submissions and here we can add other supported integrations as well, this file can be generated automatically using the formspree init command.

It's important don't forget to assign a name for this form which is the first attribute under "forms" attribute, in this case "contactForm" and a name for this project in this case "Next.js Formspree". here's a small sample of a basic config:
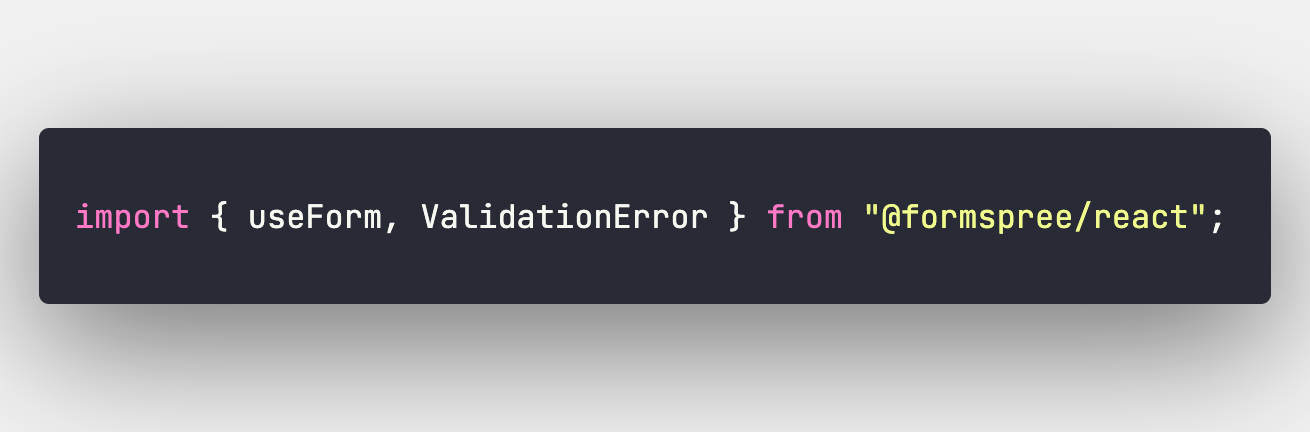
After this let's create a component file which or where your form UI resides and now we can import two of the dependencies. In this point just useForm hook is needed, ValidationErroris just provided if you don't want to handle form validation from sratch. You can read more about in the formspree docs
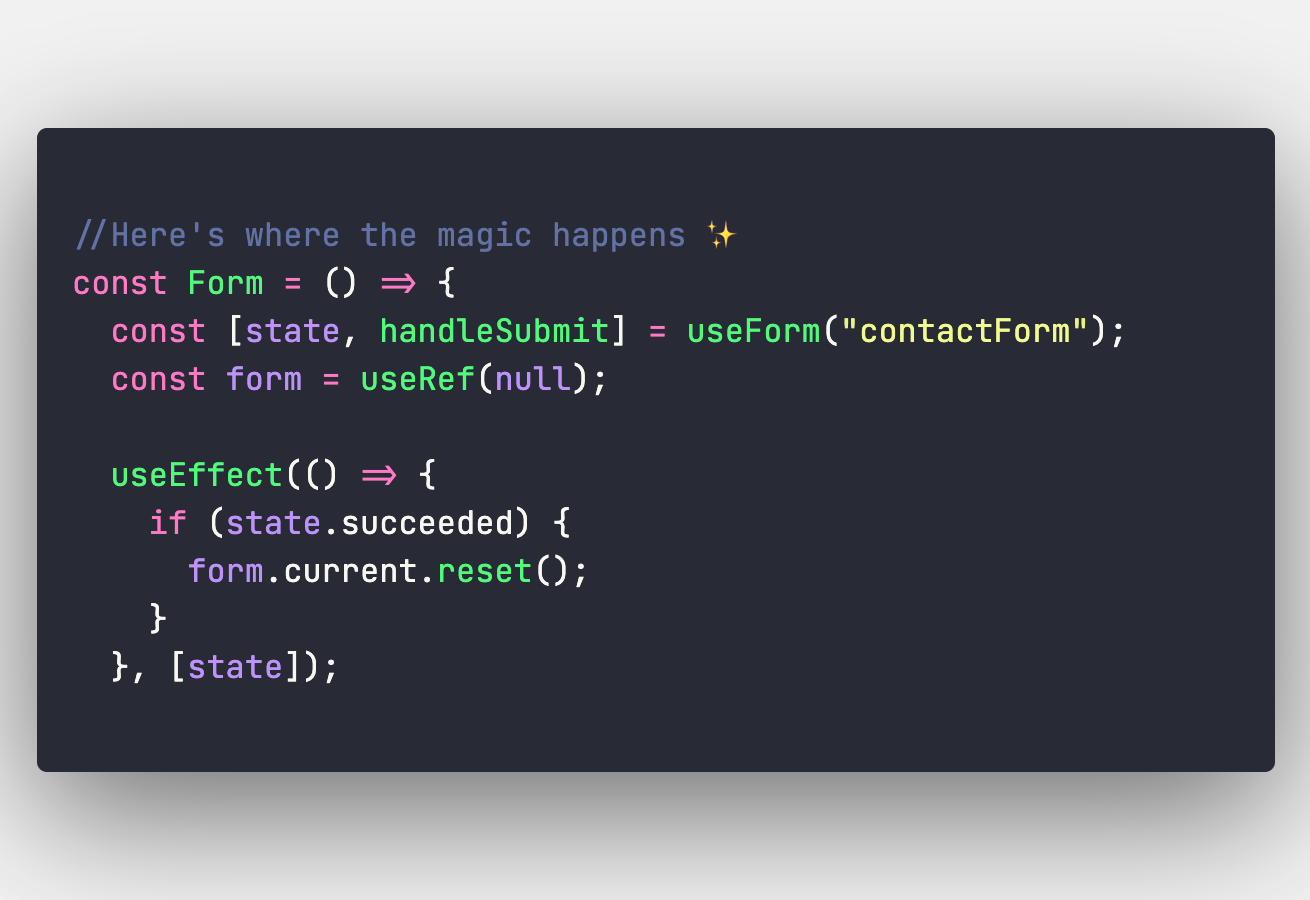
Then it’s time to use the useForm hook, this needs only one parameter which is the form's name created on the formspree.json file, "contactForm" in this case. Here I'm using useRef hook in order to handle form event submission, reading the state status and reset the form's input fields as a side effect with the help of useEffect (this is something optional and depends on your own custom implementation)
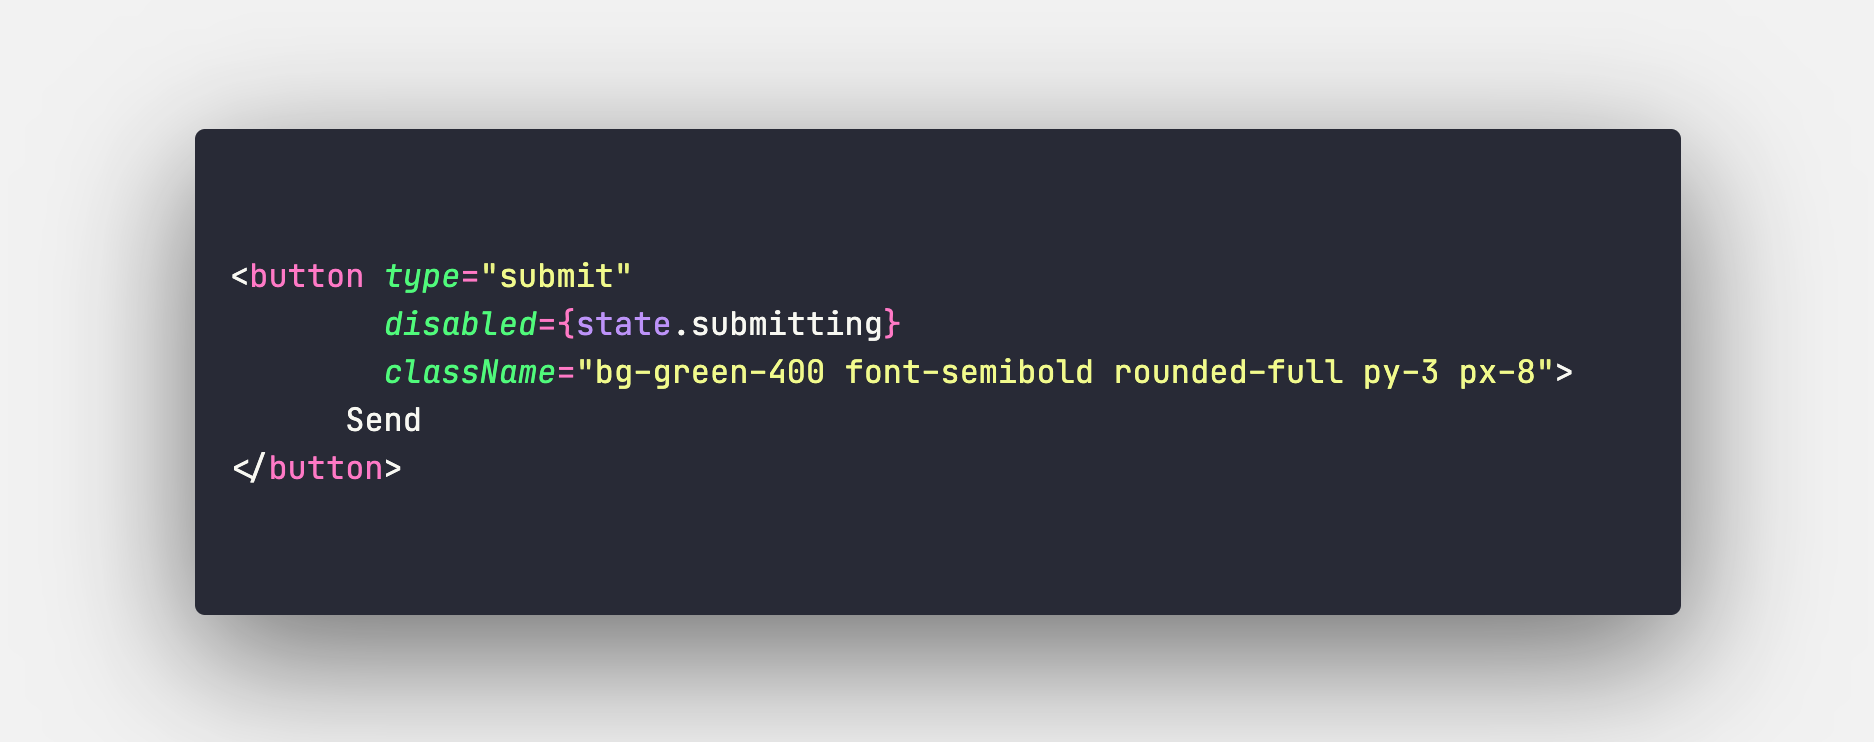
From here everything is almost done, don't forget to add type="submit" attribute inside the submit button and formspree provides an state value in order to track if the submission is done or in process, with this in mind we can set state.submitting insidedisabled attribute in order to disable the button after clicking and before submission is complete
Last step...
That's everything about the formspree integration, as you see is really simple and quite easy to connect, the last thing beyond the code is to deploy our formspree.json file to the platform in order to upload our custom configuration, but don't worry this process is easy as this and we just need the command: formspree deploy -k your-deploy-key as you see below:


Then after this deploy, you can see the platform is showing the actual project and the configuration we added before

After this process we can test our contact form and see that everything it's working properly and just takes us few steps
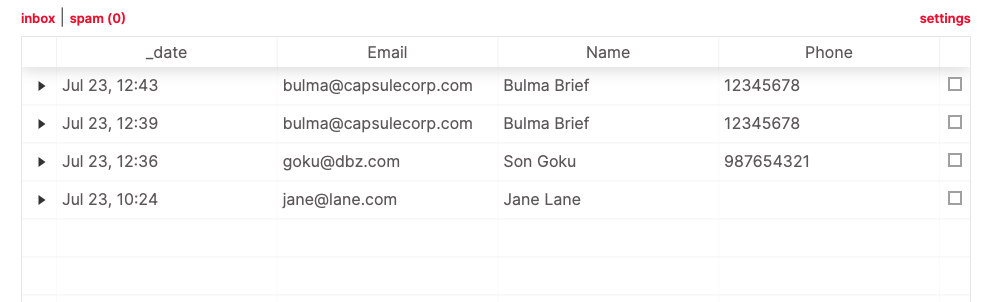
Inside Submission section in formspree's platform you can see all email submissions and the specific date and time when they were sent
And the form is actually sending all the information to my own email, that was configured on formspree.json before:

Your contact form is done! 🎉
Now you have a fully functional contact form, you can find the whole project on this GitHub repository , you can see this small example as an starter kit, feel free to use it on your next project.
If you want to deep dive into this API you can find more info on the Official Forsmpree docs. I reccomend to read this article from Vercel about how to deploy a form with Formpree on Vercel's platform, is really useful and valuable content. Thanks for reading me! ✌️