How to create a custom search filter on pure React
React
Feb 21, 2021

Ok, let's begin
Usually when we build a project we need to implement a way to filter all the data or portions of this data, one of the main ways to achive this is through a search bar but this could sound tricky but with help of just plain React and hooks it's much easier than you think.
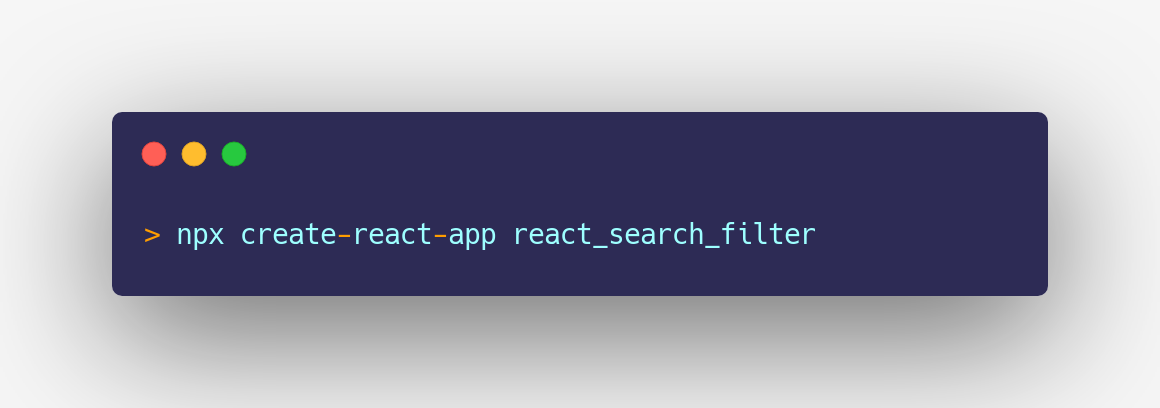
For this small example I'm going to use Create React App just to keep this config. easy as possible and just focus on the functionality:
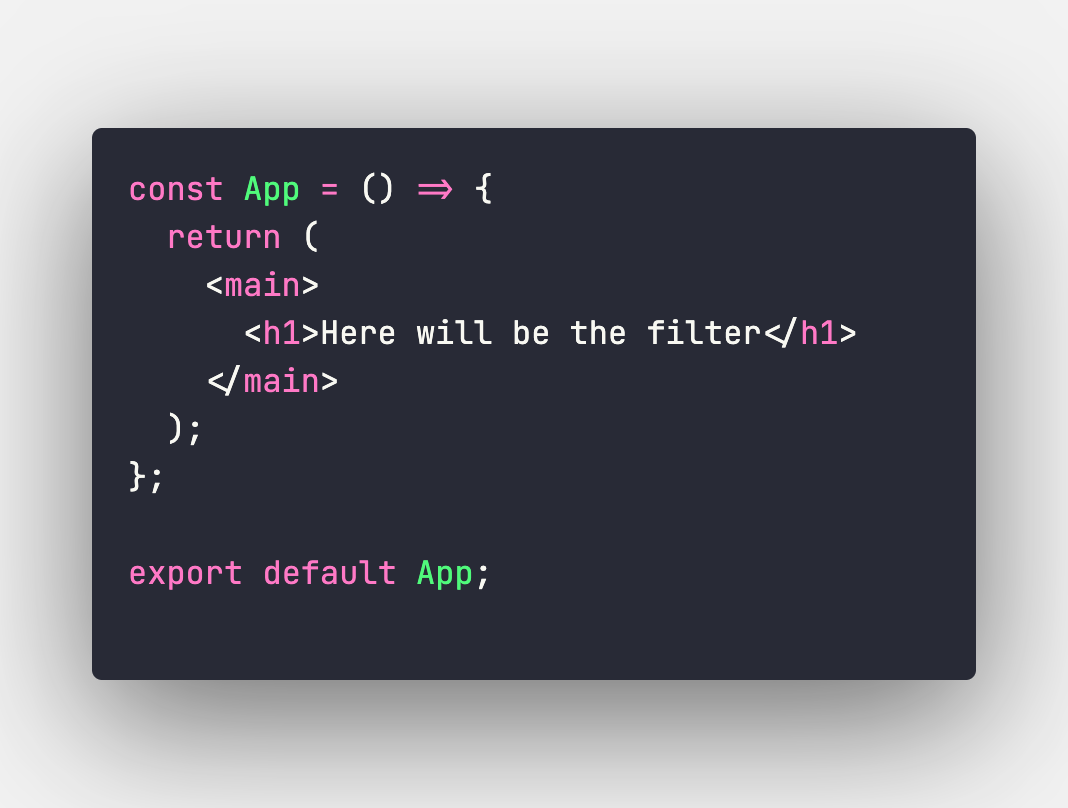
After this step is optional to delete everything inside src and public directory ,this time I just keep everything inside the project, then got to App.js file delete everything and create and App component like this one:
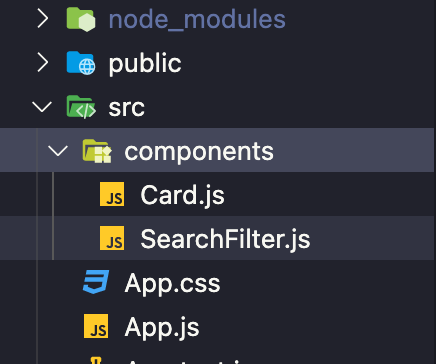
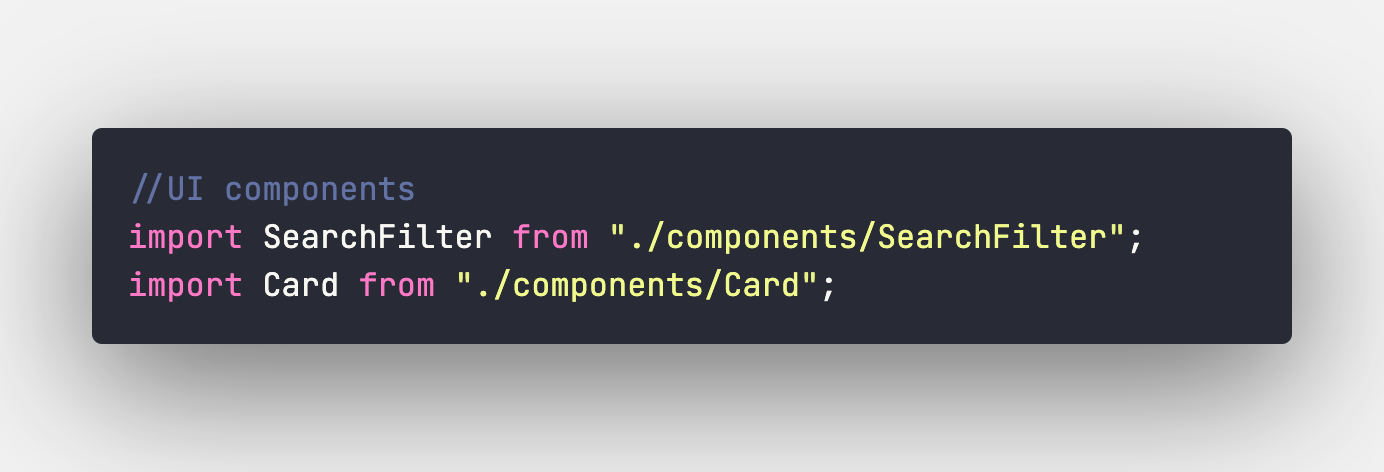
Then inside src directory, create a new one called components, and inside create just 2 new files SearchFilter.js and Card.js this are the only two components we need for this example.
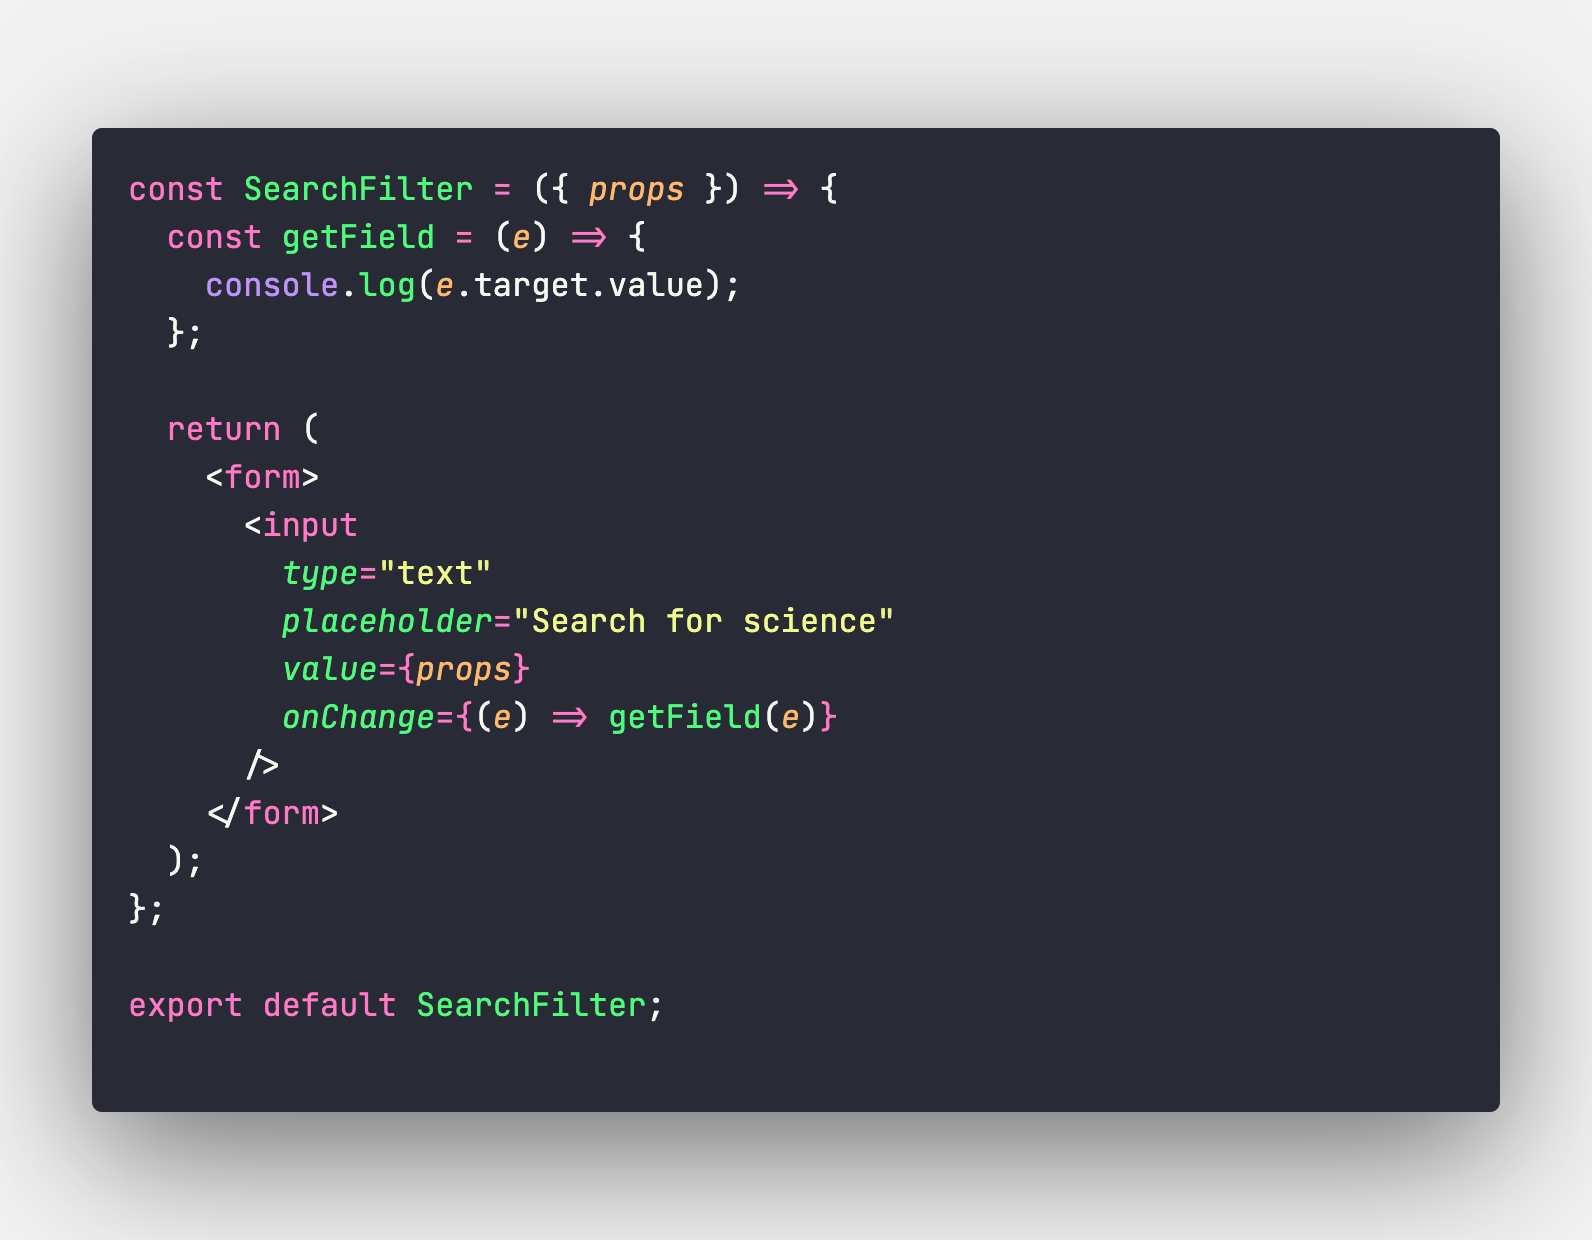
Eventually inside SearchFilter.js we will create a base search bar:
Now let's import this first component inside our App component:
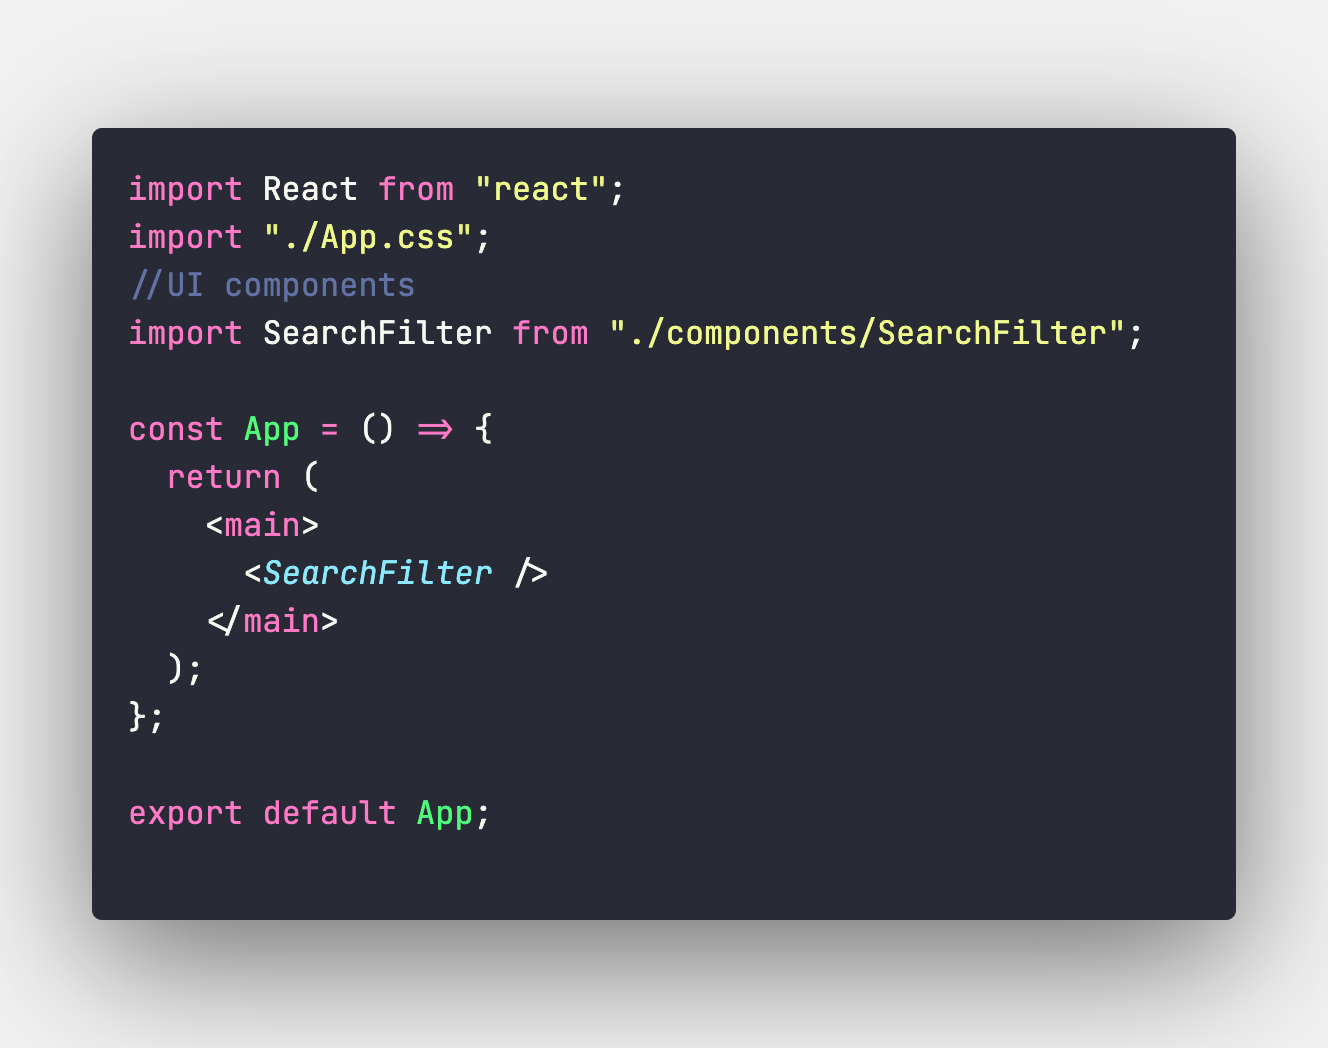
Right now the whole app should looks like this:
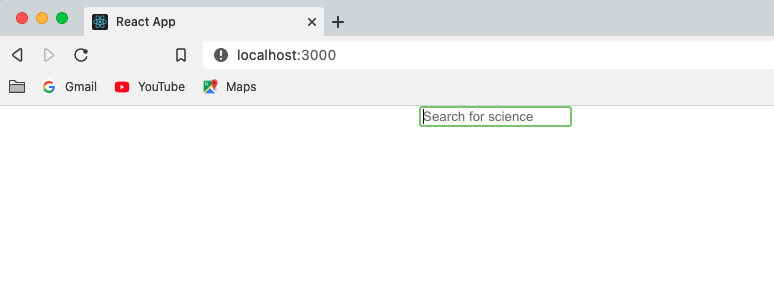
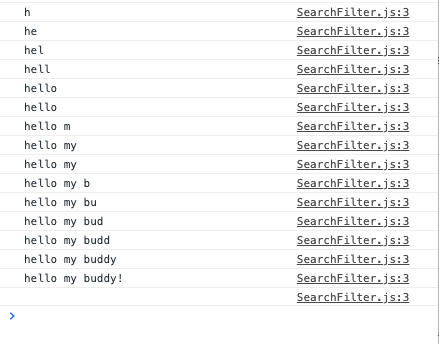
Quite simple I know but we're just getting started, when you type on this simple search bar you should see what you type as output on your browser console
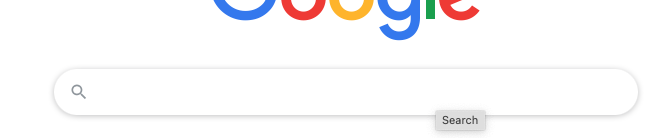
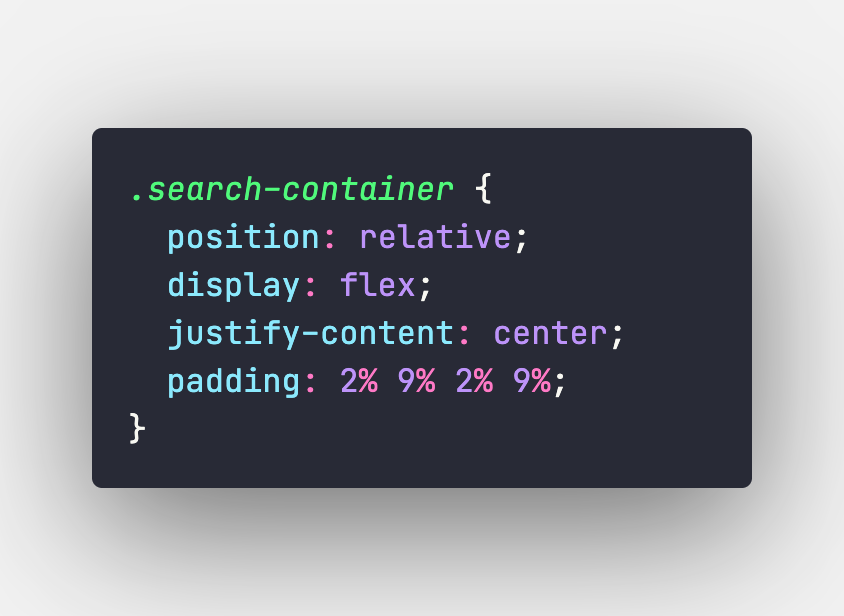
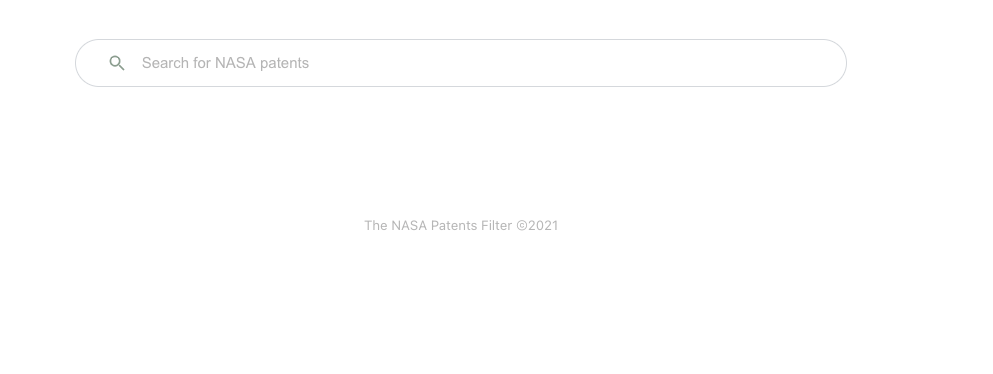
Before continue with our Card component I just wanna to take some extra steps to give some styling to our search filter. The idea is to style this component as the well knowed Google search bar, as the example you see bellow:

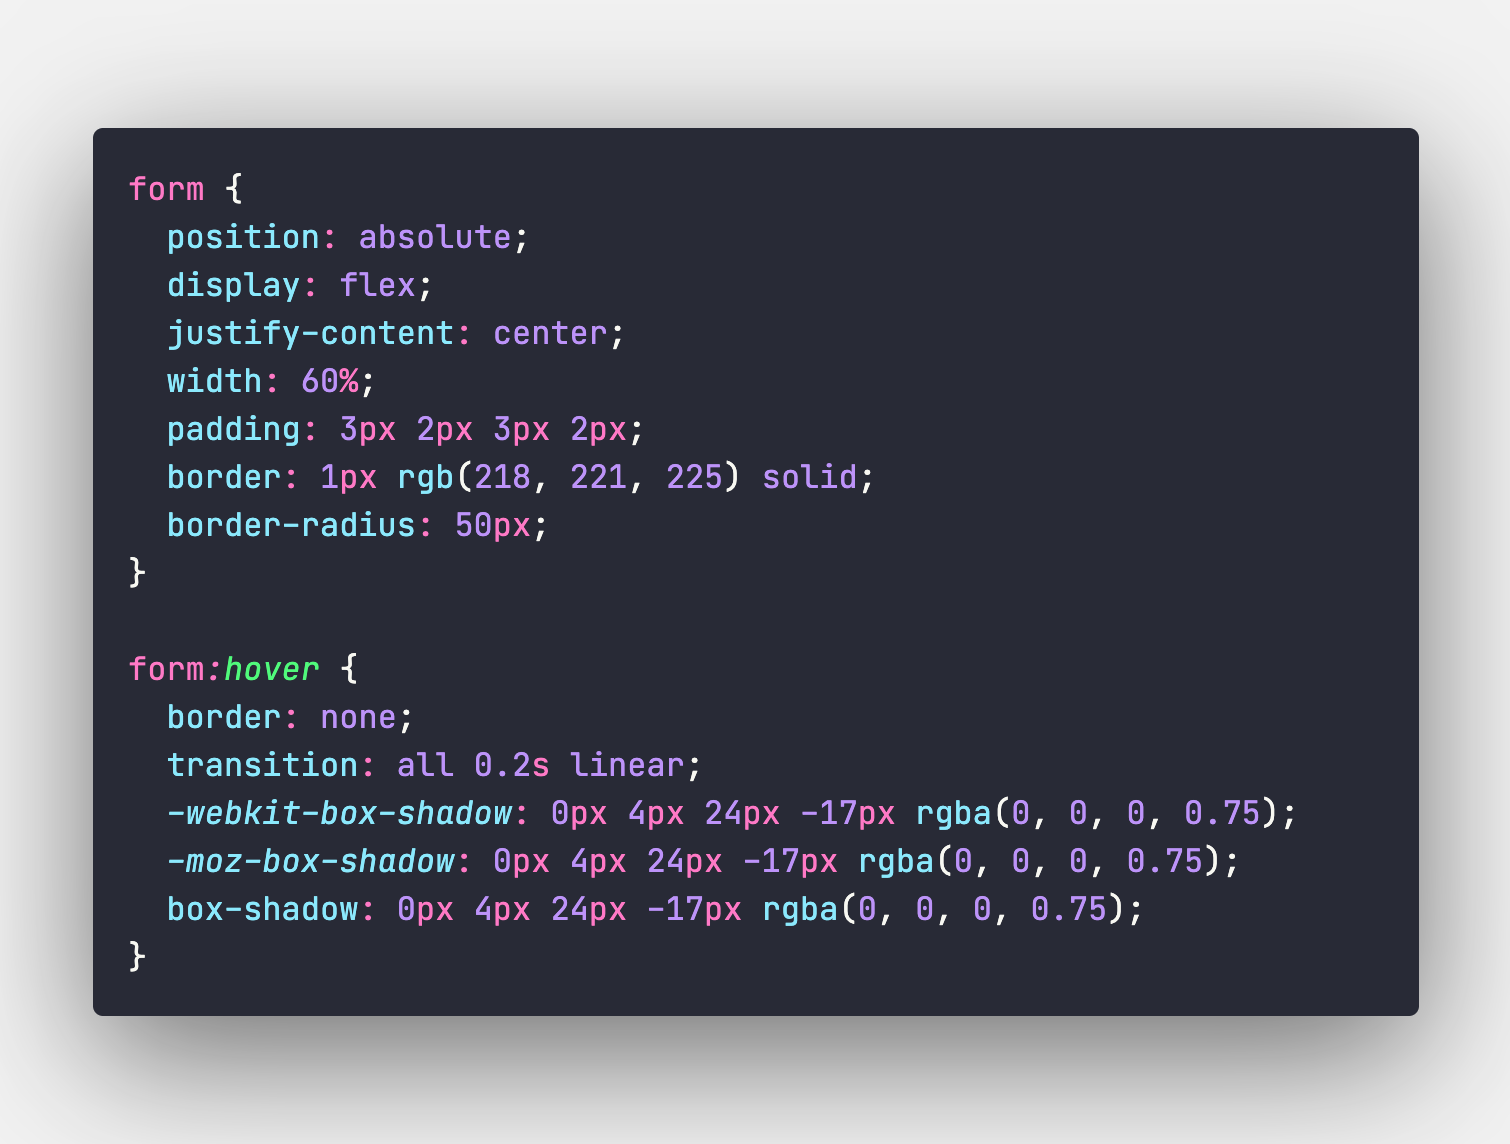
And the hoverable shadow effect included:
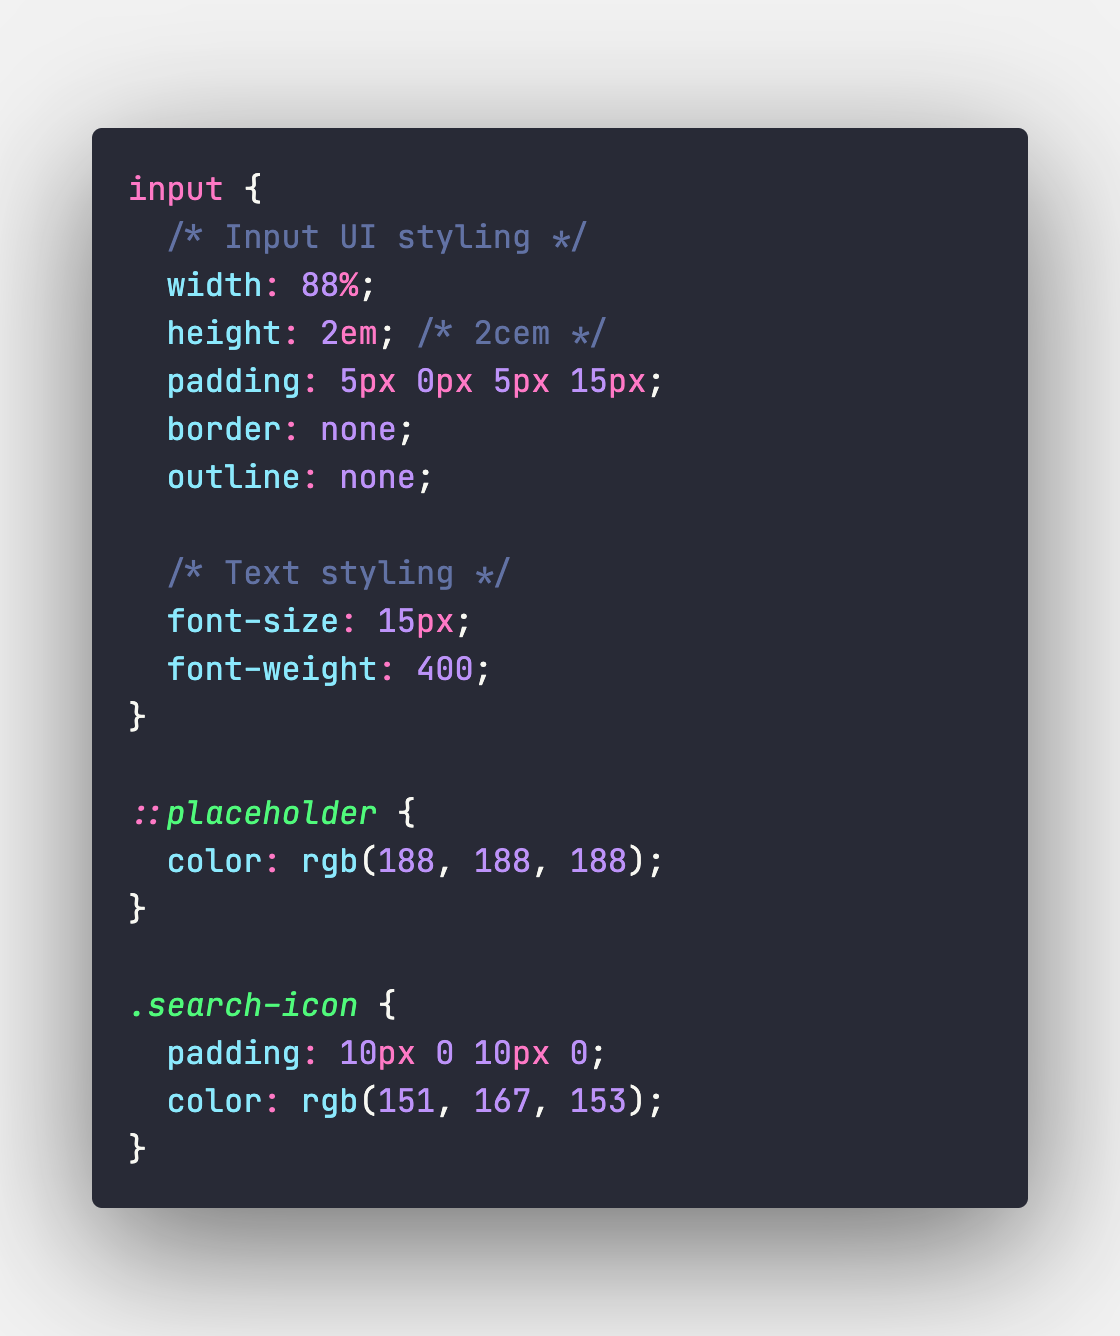
for this I used a dependency called react-icons for the search icon and took the time to add some custom styles inside App.css file as you see:
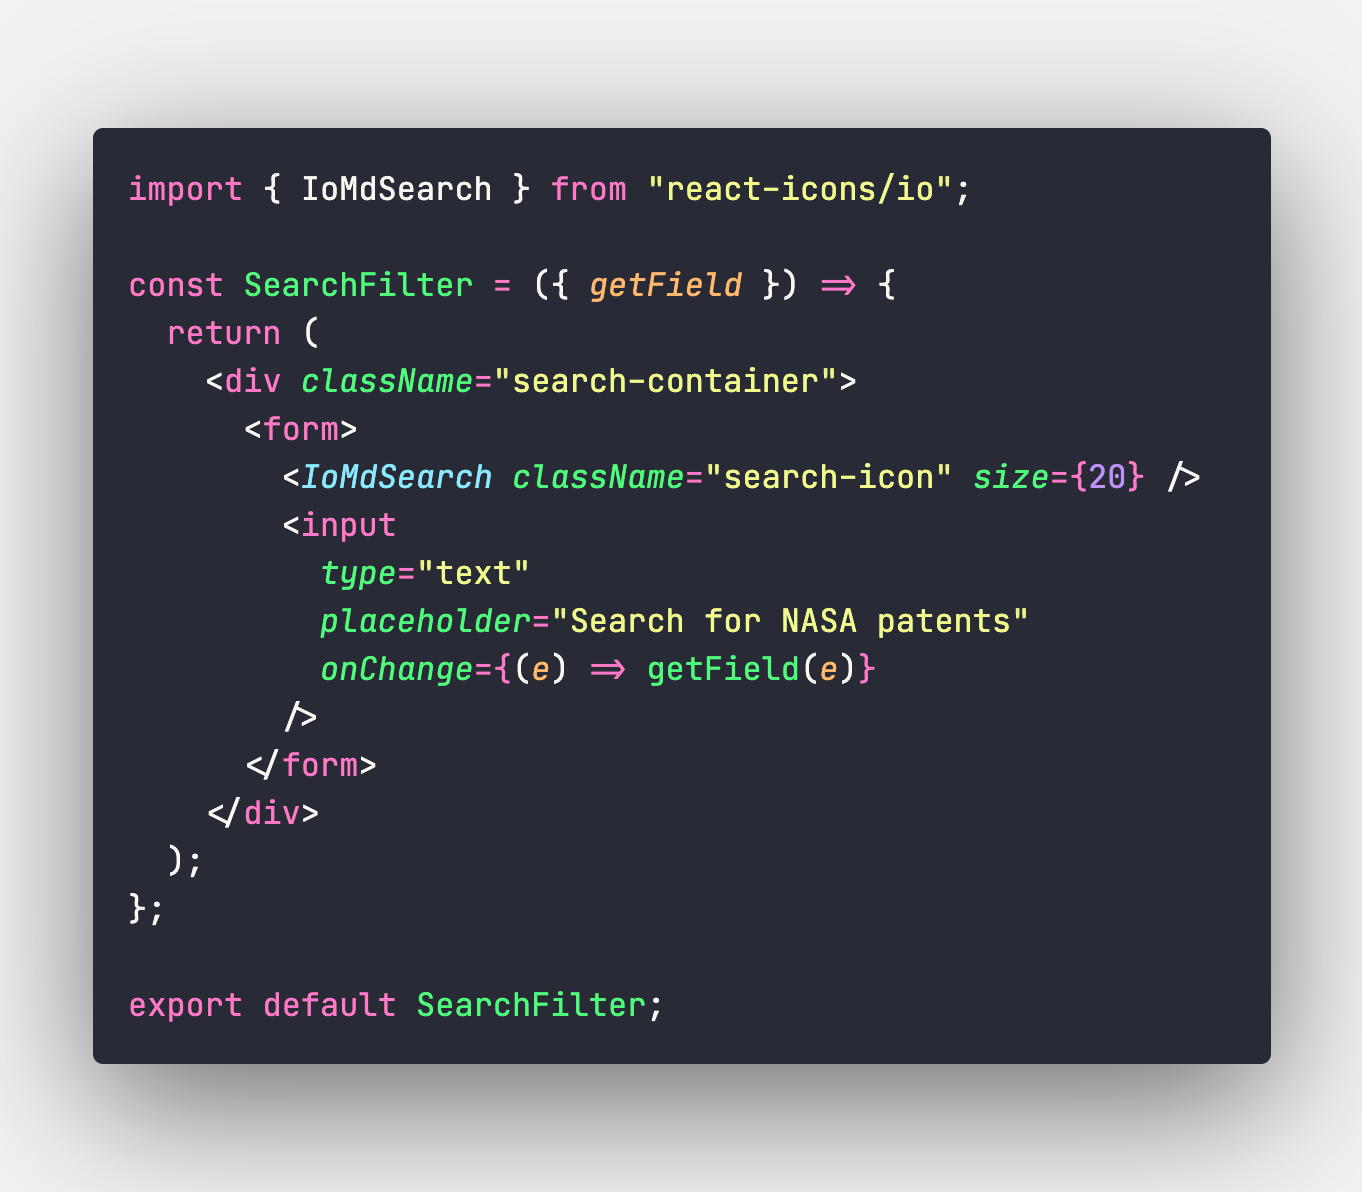
And as a last step we need to modify the SearchFilter component to the final version, where the search icon from react-icons was added (IoMdSearch) and as you can see I removed the getField() function but it was just relocated to App component because it's better to manage this behavior from the parent component.
The codebase for the whole project includes all the styling and it's on this GitHub repository.
Creating sample Card component
Now we can continue with our Card component, this one will be filled with sample data directly from NASA API 🚀, but first let's create the component’s layout:
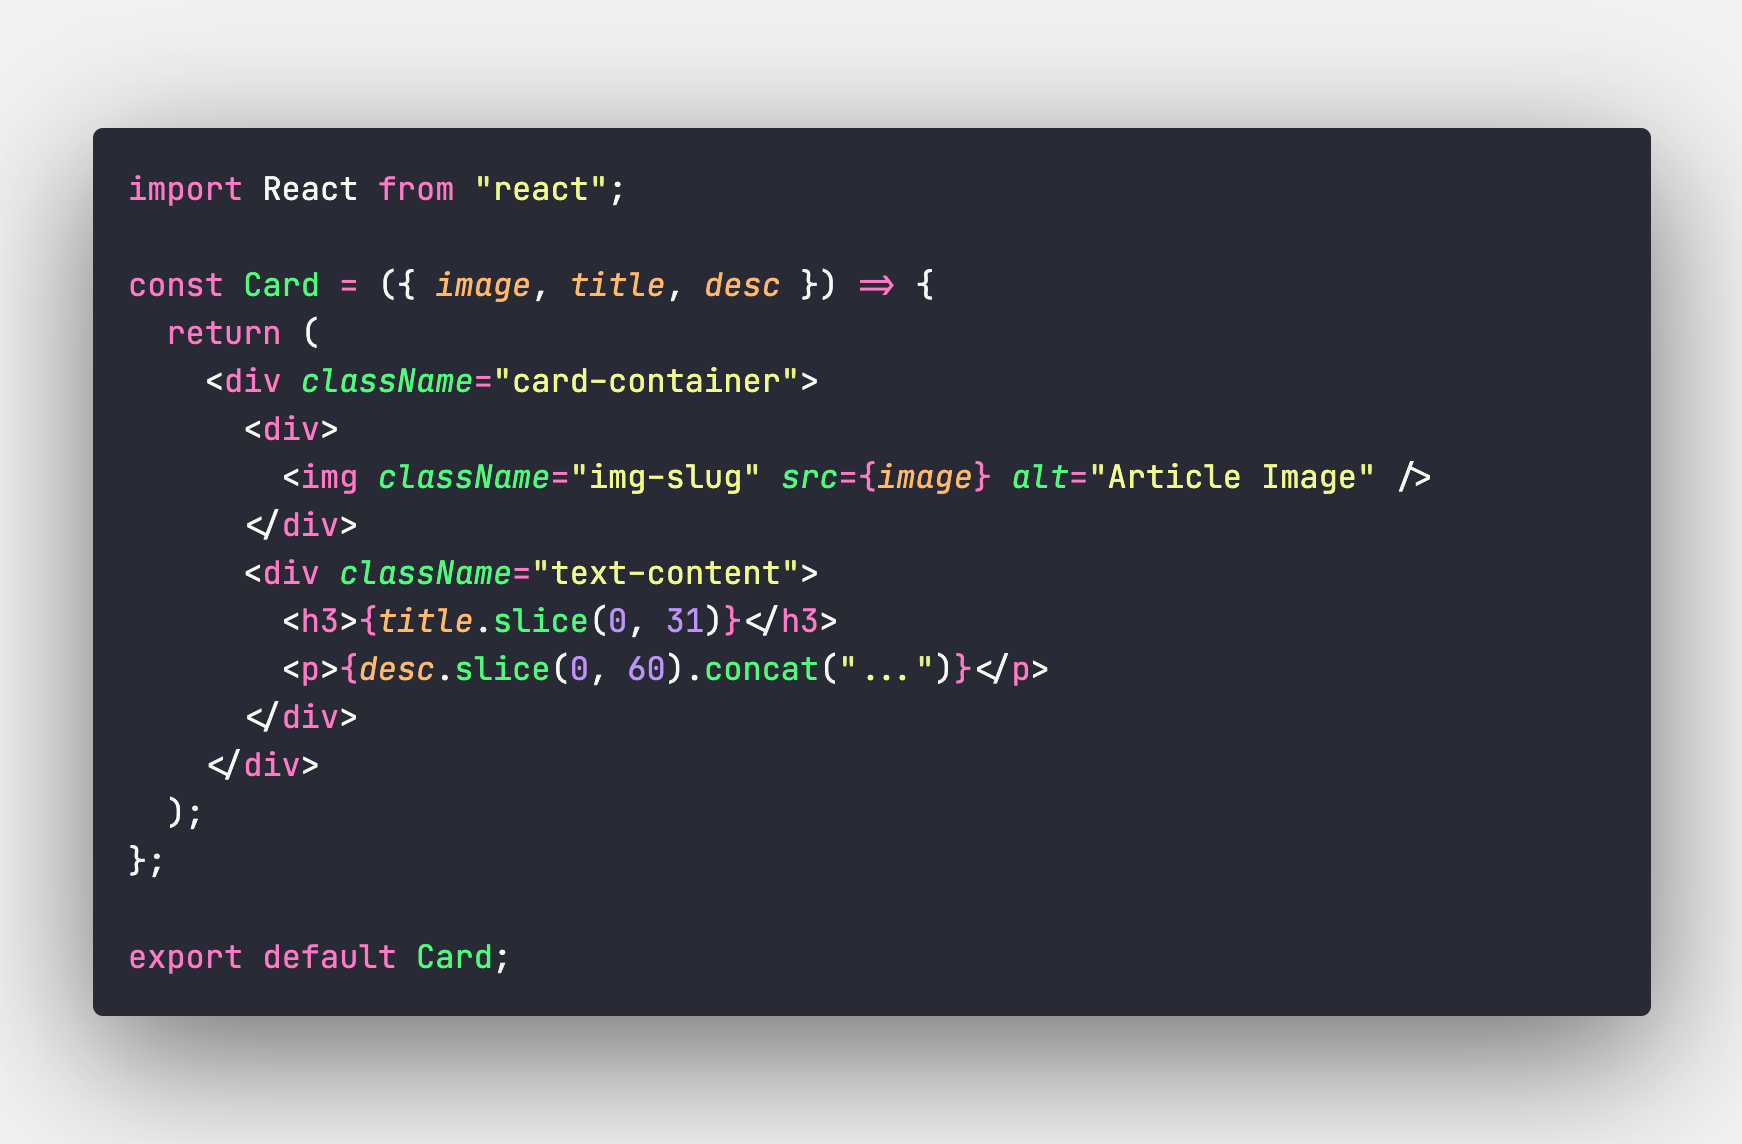
From this step we should modelate our component with the needed props, an image, a title and a description, this is optional and you can implement your own modeleded layout and data.
Now we just import Card to our App parent component:
From this step we should modelate our component with the props this will receive, an image, a title and a description, this is just optional and you can implement your own modeleded layout and data.
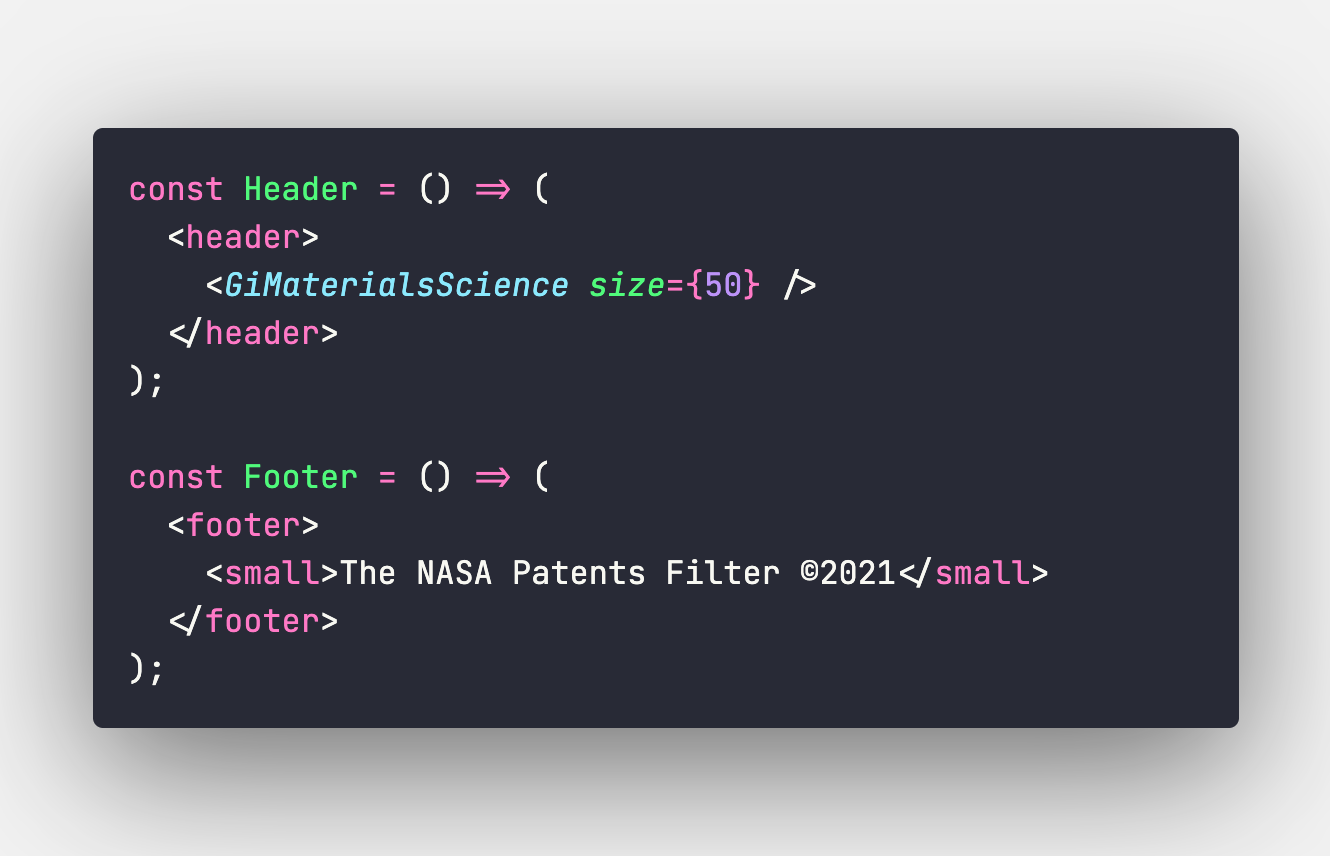
Adding our last layout components
It's a best practice to keep all our components separated but for this small example I created Header and Footer components inside the parent component file, and looks like this:
And this is how our App component looks like:
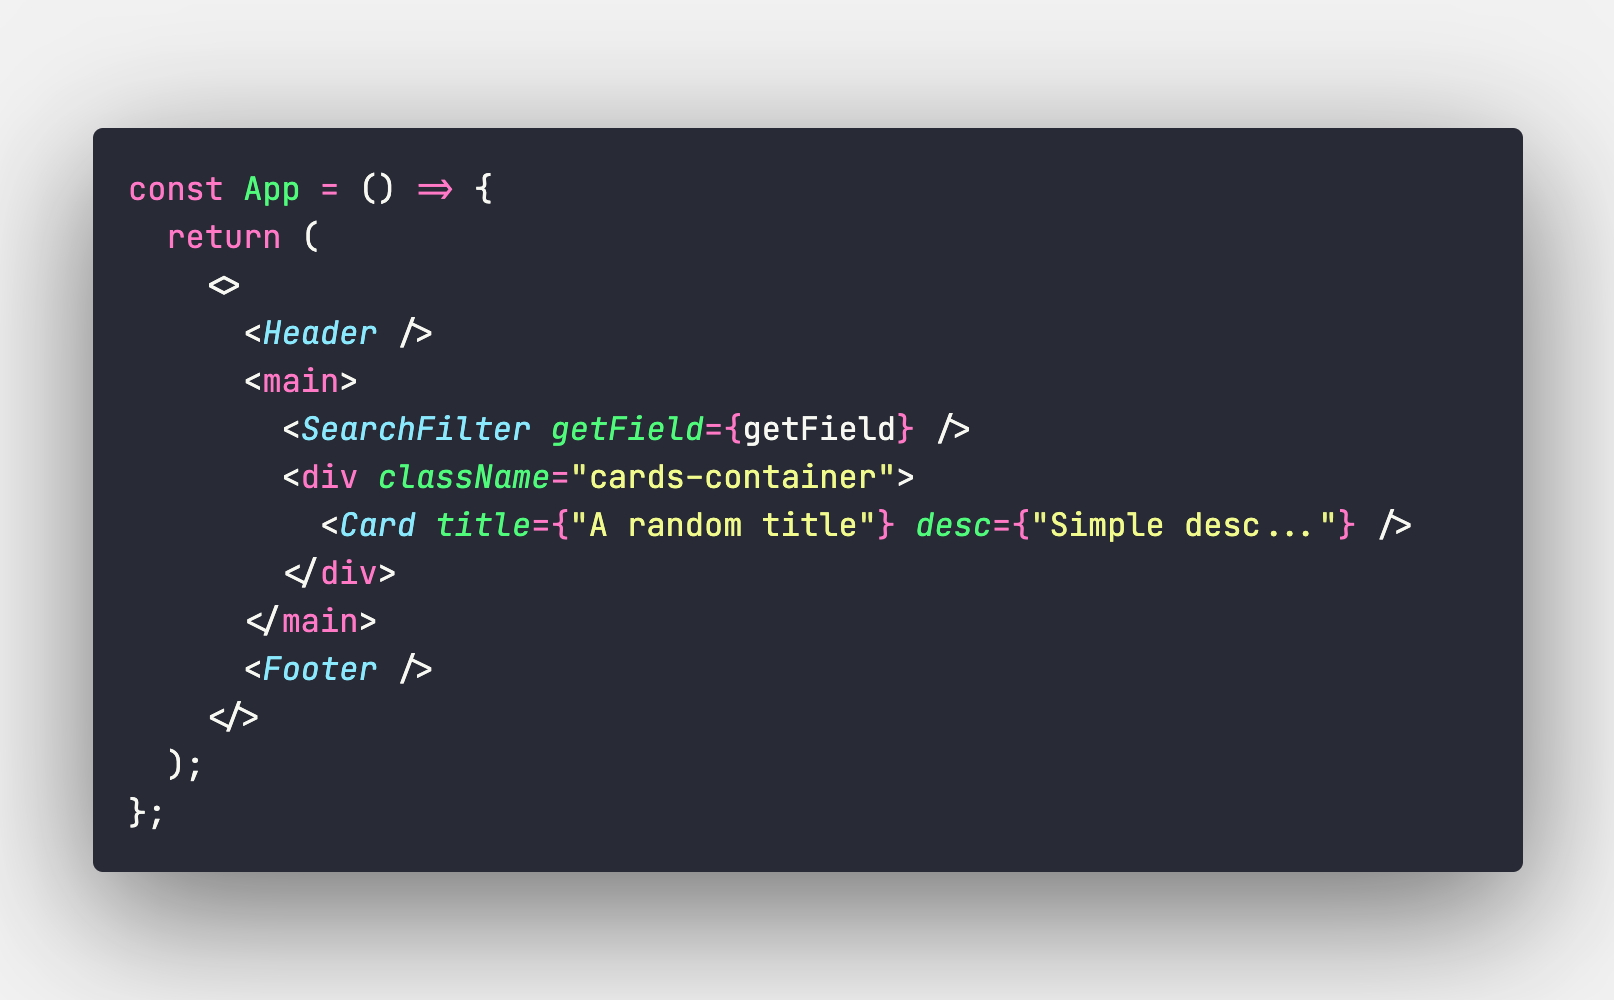
As you can see I even added an icon component using the react-icons library and integrating additional, the sample app now looks like this:

Don't forget the hoverable effect:

Adding logic and data before the magic
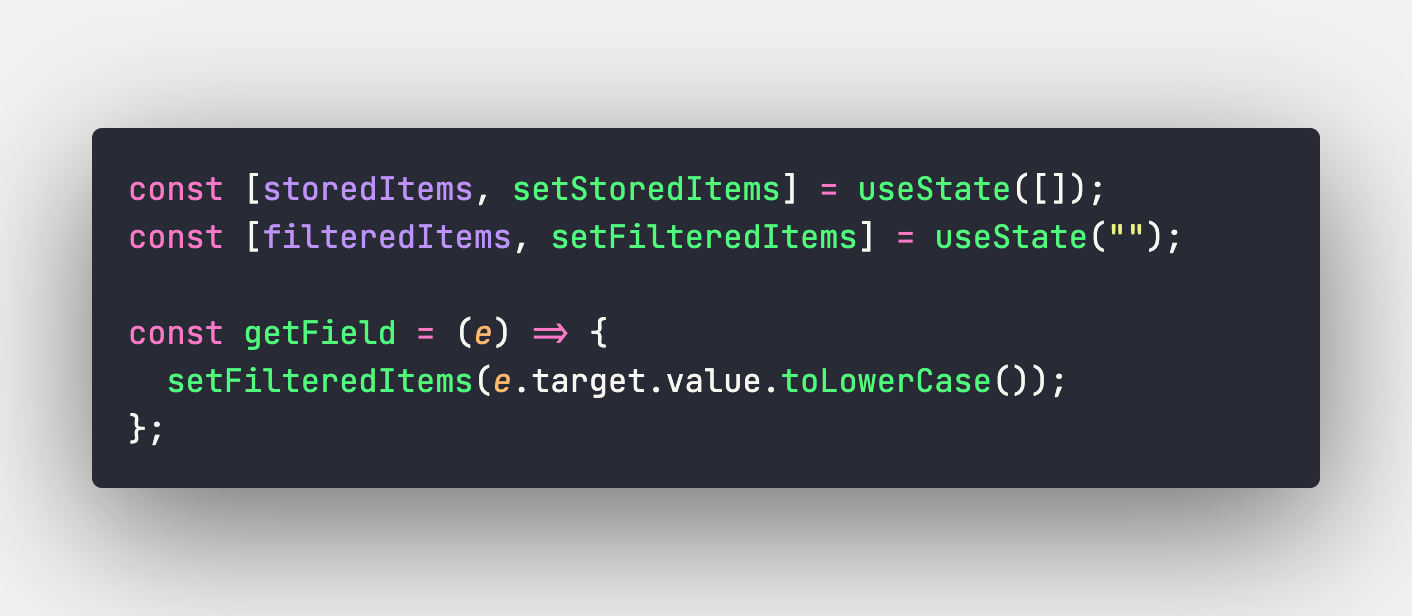
Let's create our state management logic using the useState() hook where we will be holding our requested data and the search input in order to control the data flow we should show and update. remember that we need to keep our getData() function inside App parent component:
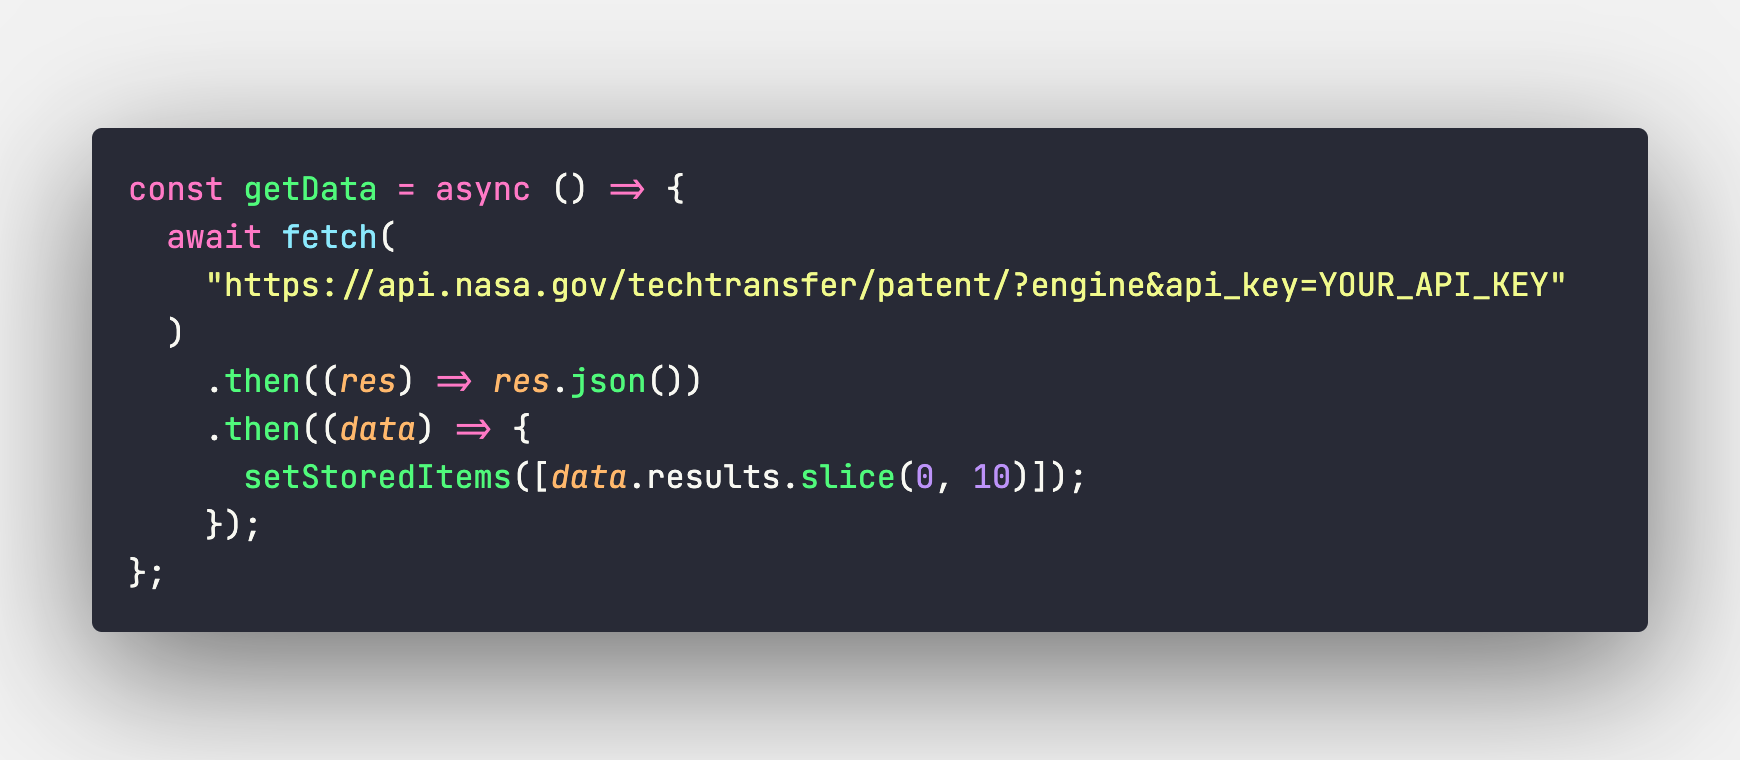
And now we just need to pull the data from NASA API, you can find it here on https://api.nasa.gov, and you just will need to provide you name, email and an optional URL where your hosted project is located, after this they will provide you an API KEY to use on your requests. it's easy as that!
The way you get the date it's up to you, but as an example I'm using a simple API Rest model to request NASA's public patents names using an asynchronous function as you see below:
Now the magic and what you've waiting for ✨
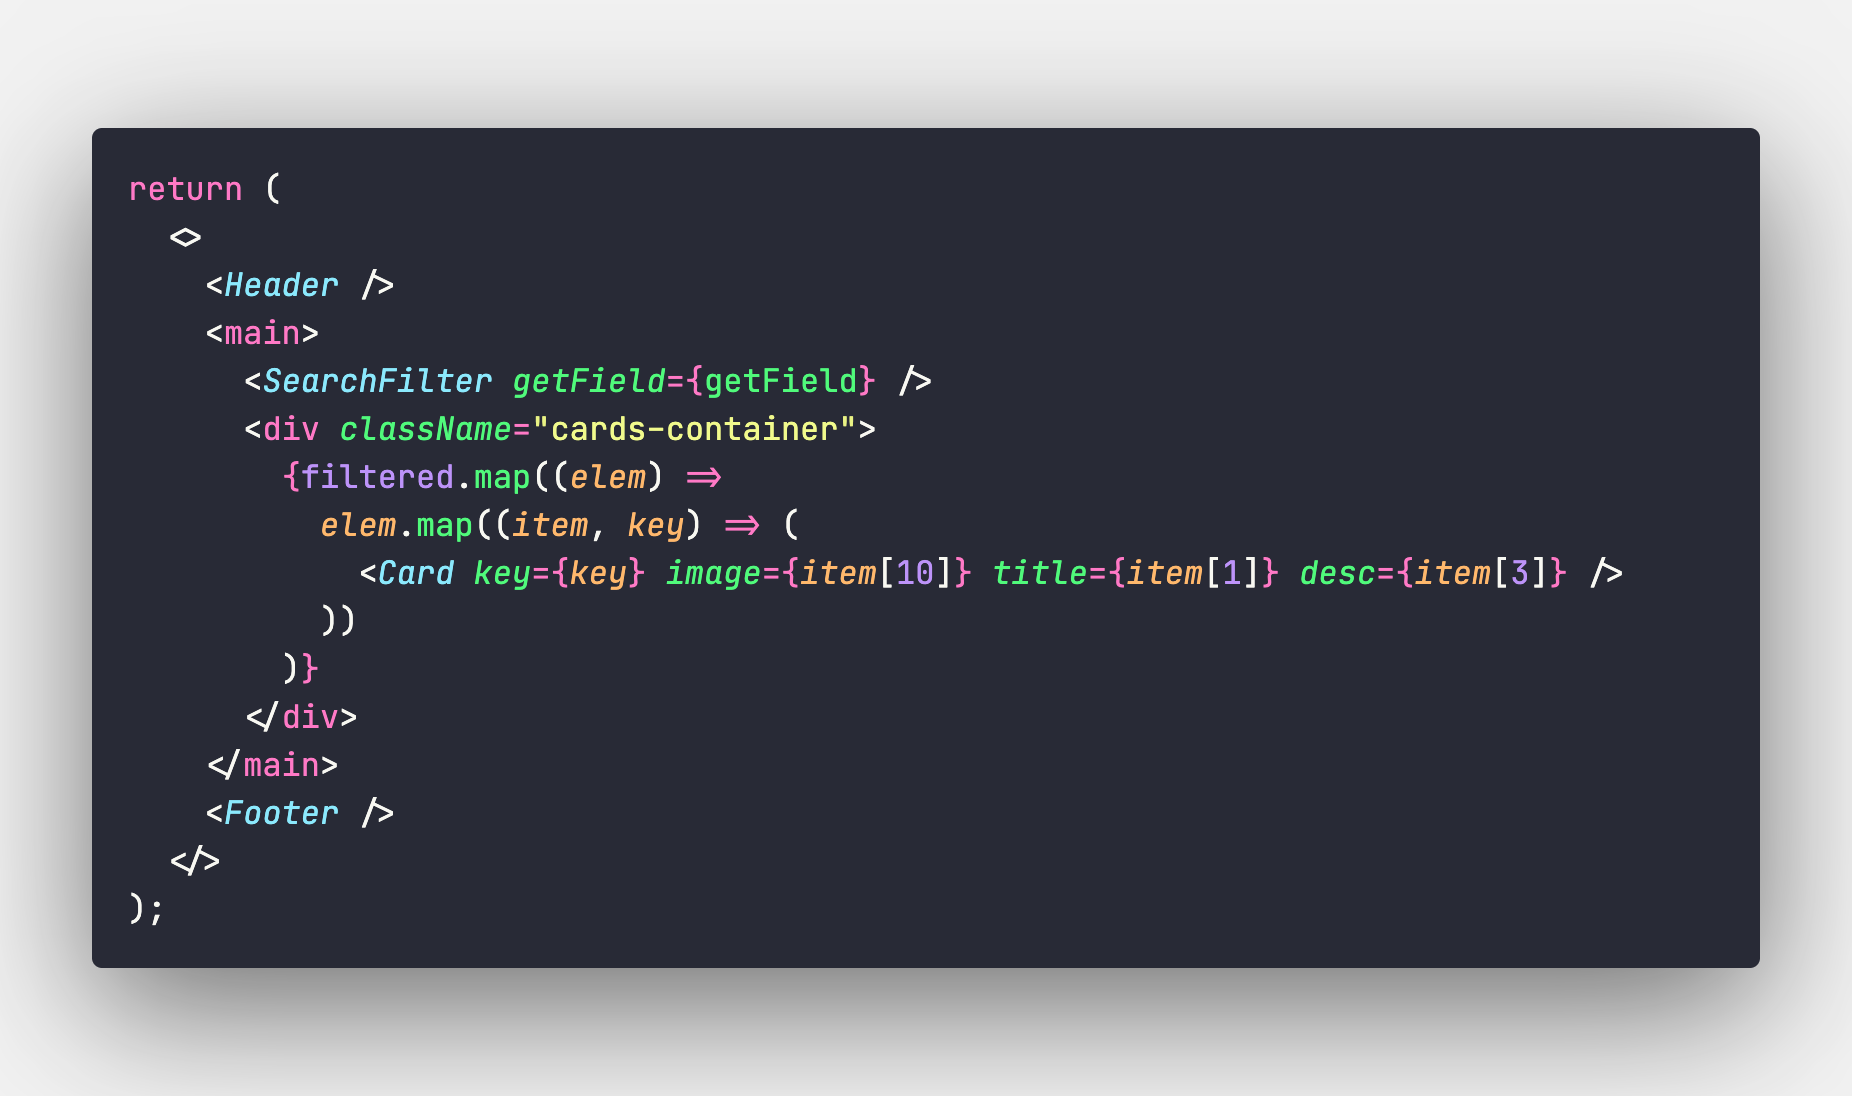
Now it’s time to use our skills to build a simple data card filter considering our previous logic, first we should create a variable called filtered where we will be maping through all the requested and stored items from the API and filtering by the exact same value that it's passed through the SearchFilter component:
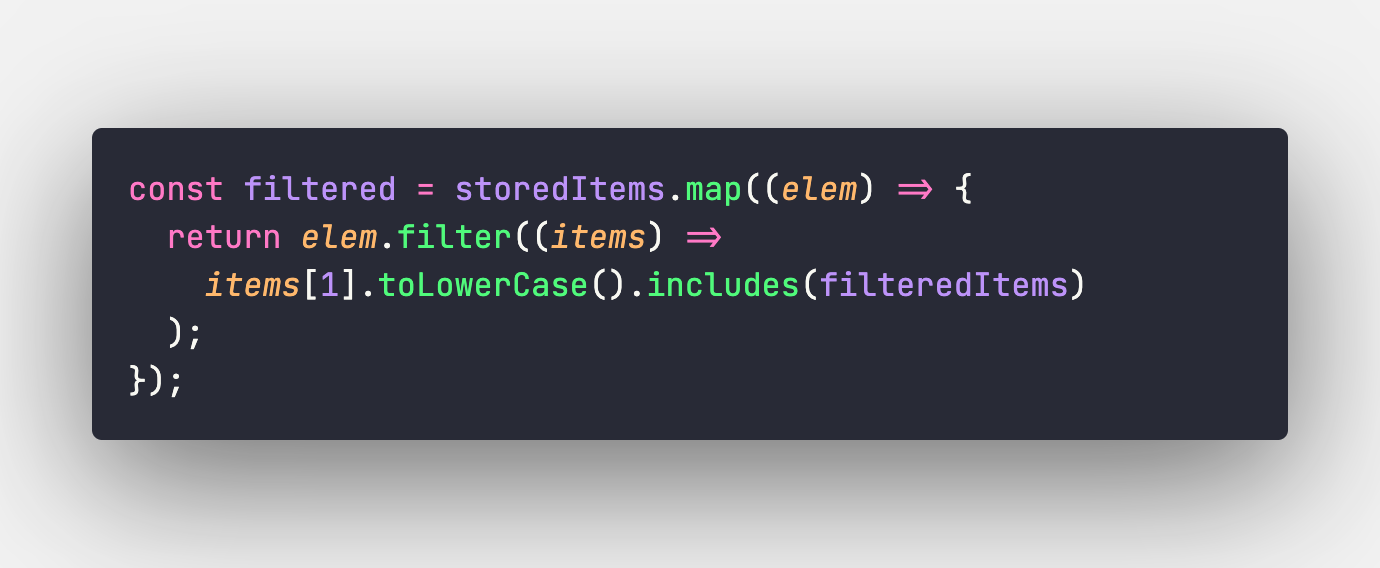
Just consider that we will be filtering by title and in this case we're storing our requested data as a matrix or arrays inside arrays, that's the reason why it's necesary to loop twice on filteredvariable when we render:
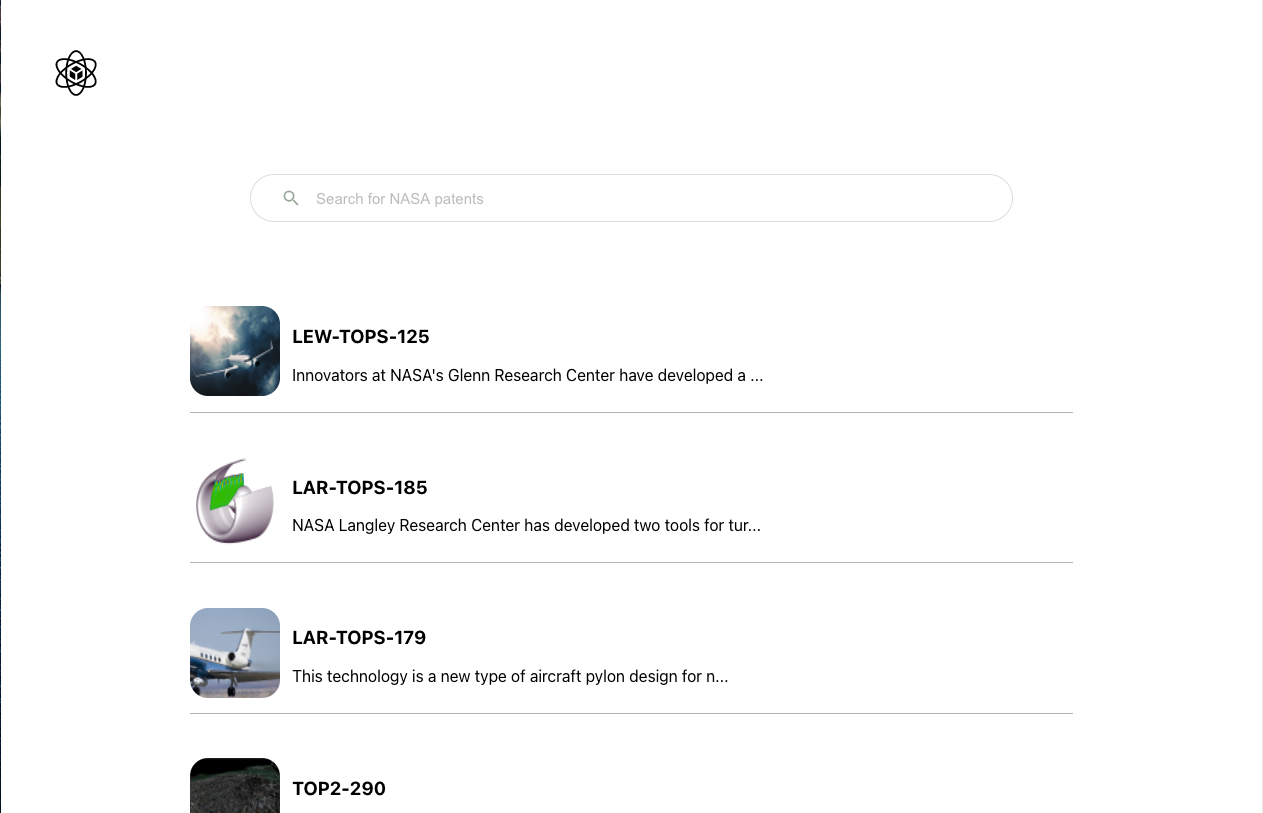
And with this implementations our UI will looks like this:
Now if we try to filter by a number for example:
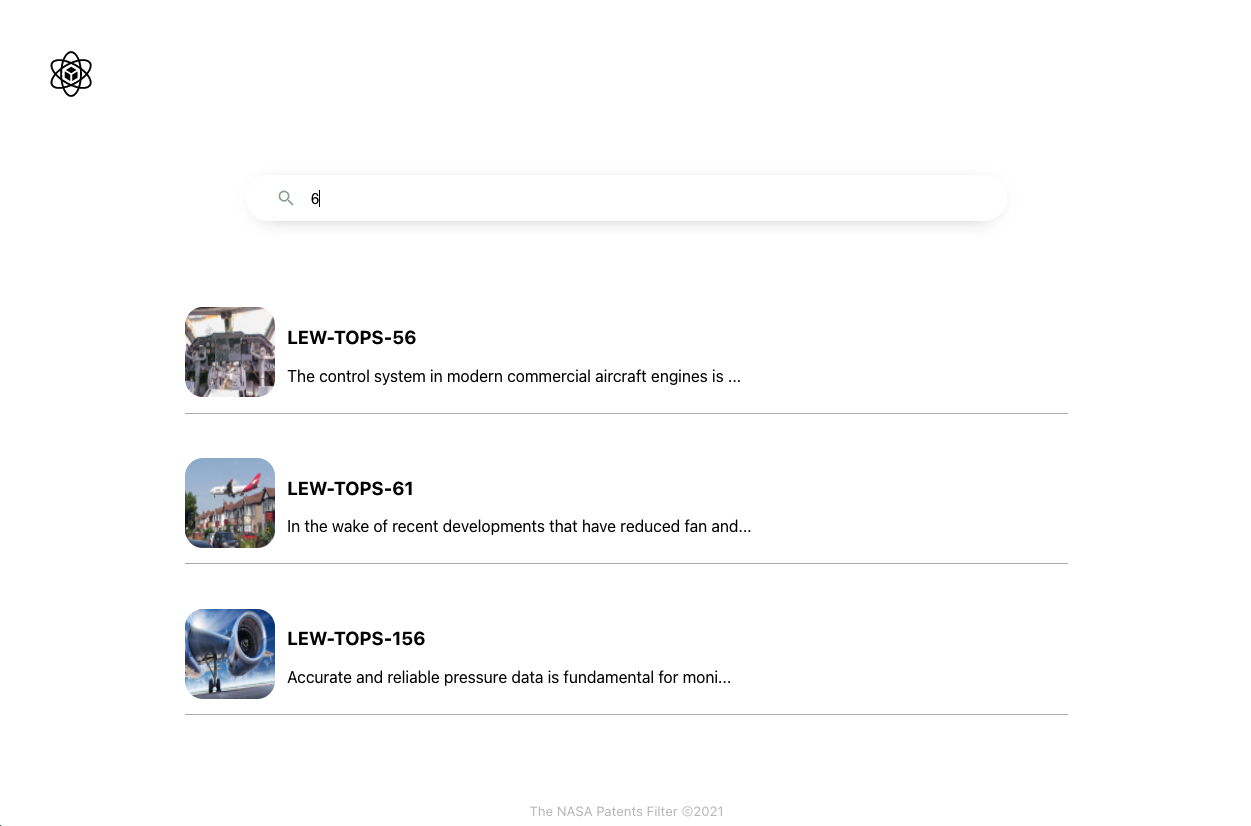
We get just get the filtered data related to the actual input. and the job is done!, it works!
Thanks for read! 🙌
You can find all the codebase of this example on this GitHub repository. I'll hope this can help you on future projects or at least solve a question or couple of them. Stay alert for more and follow me on Twitter where I share usefull tips and resources 😁 .